
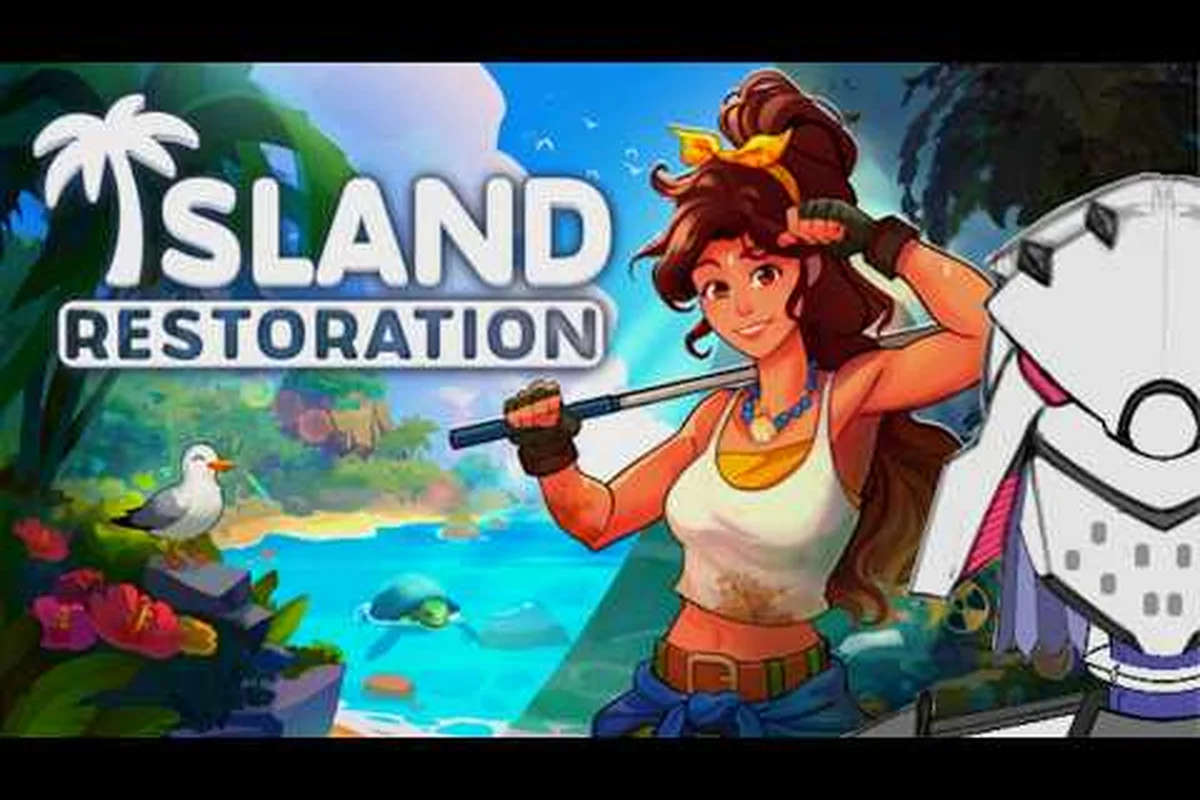
Camera control quirks can quietly ruin a relaxing cleanup session in Island Restoration, and learning the camera, save, and clue systems together is the single biggest quality-of-life upgrade new players can make before tackling the tougher maps.
Released on September 23, 2026 by solo developer EliteTheDev, Island Restoration is a cozy cleaning simulation where you sail between pollution-damaged islands and use six cleaning tools to remove oil spills, garbage, vines, and mud. According to the Island Restoration Steam page, the launch build ships with 4 biomes across 12 maps, a built-in randomizer, infinite side contracts, a full skill tree, complete controller support, Steam Achievements, and a Save Anytime feature. The official gameplay trailer below shows the camera and HUD in action during a typical cleanup run.
This guide ties three intertwined systems together: how the camera works in both keyboard and controller modes, how the save system actually behaves under the hood, and how the clue button highlights remaining dirt so you stop second-guessing where to spray next. Every section references data confirmed on the official Steam page or in EliteTheDev's patch notes.
Island Restoration Camera Controls Overview
The camera in Island Restoration was redesigned for full controller and Steam Deck support during the major demo overhaul of 2025, and the final release keeps the same feel across every input device. Movement is camera-relative, meaning pushing the stick or WASD forward always moves your character away from the current camera angle rather than toward the top of the screen. That detail alone fixes most of the "I keep walking the wrong way" reports that surfaced during the early demo phase.
PC Key and Mouse Input Reference
| Input | Action | Notes |
|---|---|---|
| W / A / S / D | Move character (camera-relative) | Direction follows camera, not the world axis |
| Right Mouse Button (hold) | Rotate camera around the boat/character | Faster than the keyboard rotate keys for wide panning |
| Arrow Keys | Rotate camera (left/right) and tilt (up/down) | Useful when you only have one hand on the mouse |
| Mouse Wheel | Zoom in or out | Min and max zoom are clamped per map |
| ESC | Pause / open the nozzle selection wheel | Also exits the wheel without selecting a tool |
The mouse-and-keyboard layout is the default on PC and the easiest way to make precise rotations while scrubbing tight corners with the power washer. Holding the right mouse button and sweeping the cursor is by far the fastest way to scan a coastline for missed oil patches, and most players pick this up within the first few minutes of the Tropical Isles tutorial.
Gamepad Input Map for Controller and Deck
| Input | Action | Notes |
|---|---|---|
| Left Stick | Move character (camera-relative) | Same direction logic as WASD |
| Right Stick | Rotate camera and tilt | Clicking the stick resets the angle behind the character |
| Right Trigger (RT) | Use currently selected cleaning tool | Pressure-sensitive in supported pads |
| Left Trigger (LT) | Aim / secondary action (e.g. power washer stream) | Mirror of the right trigger for left-handed pads |
| A / Cross | Interact, confirm, pet animals | Hold to skip cutscenes after the first prompt |
| B / Circle | Cancel or put away the current tool | Replaces the ESC behavior on controller |
| Y / Triangle | Open the clue button overlay | See the Clue System section below |
| Start / Menu | Pause menu and save game | Single button access to the save system |
Controller icons were fully replaced during the demo's Steam Deck update, and EliteTheDev confirmed that every menu now has controller-specific settings so pad players never see a keyboard tooltip. Steam Deck verification shipped in the same patch, which is why the game holds a Steam Deck Verified badge on the store page.
Camera Reset and Zoom Tips
The right-stick click reset is one of the most underrated quality-of-life features. After you spend two minutes rotating around a wreck to find the last vine cluster, a single click snaps the camera back behind your boat, saving the awkward walk-back-to-the-shore loop. Pair that with the mouse wheel (or right-stick up/down) to set a comfortable zoom level per biome: pull back for wide coastline views on the Tropical Isles, then push in tight when you are scrubbing the small lighthouse map in the second biome.
How the Save System Works
The save system in Island Restoration is built around a Save Anytime promise, but the way the game actually serializes your progress is more nuanced than a single quicksave slot. The Steam page lists Save Anytime as a headline feature, and the demo patch notes confirm it has been working in player builds since the first major demo update. The Steam page lists Save Anytime as a headline feature, and the demo patch notes confirm it has been working in player builds since the first major demo update, and if you want to see how saving ties into broader restoration mechanics, our walkthrough of the Island Restoration Grabber How To Use breaks down the tools that benefit most from that persistent state.
Save Anytime in Practice
| Action | What Gets Saved | When It Writes to Disk |
|---|---|---|
| Open the pause menu and choose Save | Full session snapshot | Immediate write |
| Quit to desktop from the pause menu | Full session snapshot + exit state | Immediate write |
| Travel between islands on the boat | Map transition checkpoint | Automatic |
| Complete a side contract | Contract completion, reward, and skill XP | Automatic |
| Pet or rescue an animal | Animal state and any reward | Automatic at interaction end |
| Crash recovery on next launch | Last automatic checkpoint | On startup, prompt to load |
Because every map transition writes a checkpoint, you never lose more than a few minutes of scrubbing if the application closes unexpectedly. The intentional quicksave, accessed from the pause menu, is the safety net for players who want to back out before attempting a tricky oil-spill cluster with the power washer.
Manual Save, Auto Save, and Slot Behavior
There is effectively one active save slot per profile, plus the cloud-synced copy that Steam pushes to its own cloud infrastructure if you have Steam Cloud enabled. Writing a manual save overwrites the active slot, while the previous manual save is kept as a rollback for a single step. This rollback behaves like the classic "save scumming" pattern: if you regret a tool choice, you can reload the previous manual save and try a different approach without losing the entire run.
The "infinite side contracts" feature listed on the Steam page ties directly into this save structure. Because contract rewards and unlocks are written at the moment a contract completes, you can safely Alt-F4 mid-session and resume later without losing skill XP, tool unlocks, or contract progress. According to EliteTheDev's official release announcement, this was a deliberate design choice to support the cozy, pick-up-and-play pace the game is built around.
Cloud Saves and Multiple Profiles
Steam Cloud syncs saves automatically, which is helpful if you bounce between desktop, Steam Deck, and a living-room PC. Each Steam user account on the same machine keeps a separate save because the profile is tied to the Steam user, not the install directory. If you want two completely different runs (for example, one focused on the skill tree and another on contract grinding), the cleanest way is to use Steam Family Sharing or a second account rather than editing the save files directly.
How the Clue Overlay Works on the HUD
The clue system is a HUD overlay that highlights dirt, debris, vines, and distressed animals you have not yet cleaned. It is the second-biggest quality-of-life feature in the launch build after Save Anytime, and the demo overhaul post from EliteTheDev specifically called out how the clue overlay changed the way players approach each map.
What the Clue Button Reveals
| Marker Color | Meaning | Typical Tool To Use |
|---|---|---|
| Yellow pulse | Loose garbage or debris | Grabber |
| Green pulse | Vines or vegetation overgrowth | Cutters or shovel |
| Brown pulse | Mud or sand buildup | Shovel or pressure nozzle |
| Black pulse | Oil spill or tar | Power washer (oil setting) |
| White pulse | Distressed animal nearby | Approach and interact, then clean with the right tool |
| Faint gray | Optional side contract target | Any matching tool, but tracked separately |
Each color maps to one of the six cleaning tools the game ships with, and learning the mapping is faster than guessing. The clue button does not tell you the exact tool, but the color cue narrows the choice to one or two options, and the tool wheel shows each tool's color compatibility as a small ring.
How to Use the Clue Button
Activating the clue button is intentionally a single input on every device. On keyboard, the default binding is Q; on controller, it is Y / Triangle as listed in the controller table above. Holding the button keeps the overlay visible while you rotate the camera, and releasing it fades the highlights over roughly half a second. Because the overlay respects the camera angle, rotating around a wreck is the fastest way to find the last few black-pulse oil clusters on a map.
The clue button also doubles as a rescue helper: when a white pulse appears, the camera will gently nudge toward the closest distressed animal if you tap the button while standing still. This is most useful on the larger 12-map biomes where animals can spawn out of view behind a hill. The system is opt-in, so players who prefer pure exploration can simply ignore the button and clean at their own pace, and the white-pulse animals still spawn and still reward you, you just have to find them by eye.
Common Clue Button Mistakes
A frequent community report is that the clue button "stops working" when the player has the pause menu open or the nozzle wheel on screen. Closing those menus restores the overlay immediately, and there is no cooldown. Another reported quirk is that zoom level changes can briefly hide faint gray side-contract markers until you rotate the camera; EliteTheDev's demo update addressed a similar issue with side-contract visibility, and the launch build behaves consistently across all four biomes.
Practical Tips for Camera, Save, and Clue Workflow
The three systems are designed to complement each other, and the players who finish the toughest contracts fastest are the ones who treat the camera, the save slot, and the clue overlay as a single workflow. Below is a step-by-step routine that works on every map in the launch build.
Recommended Cleanup Loop
-
Drop anchor and rotate the camera 360° with the right mouse button or right stick. Note any black-pulse oil spills on the far side of the island.
-
Tap the clue button to overlay markers, then zoom out one notch to see the full coastline.
-
Start with the brown-pulse mud near the dock because mud is the slowest tool to clear and benefits from a fresh power washer tank.
-
Save manually before attempting any tricky power washer angle, especially on cliffs where a wrong step can waste a tool charge.
-
Work outward in concentric rings, using the clue button periodically to catch missed green-pulse vines.
-
Pet or rescue every white-pulse animal as you pass, because animal rewards feed into the skill tree XP loop.
-
Hit the pause menu and save again before you sail to the next island, which guarantees the map transition checkpoint is clean.
This loop is intentionally short because the game is designed around short, satisfying sessions. If you only have fifteen minutes, you can complete a full contract cycle on a small map and still have a clean rollback save waiting when you return.
Skill Tree Synergy with the Save System
The skill tree on the launch build has nodes that boost tool efficiency, unlock new nozzles, and add cosmetic boat options. Because the game saves skill XP at the moment you complete a contract or rescue an animal, you can plan skill investments around a manual save: pick a node, save, test it on the current map, and reload if the node does not feel right. The full skill tree was previewed during the demo overhaul and expanded for the final release, so there are enough nodes to experiment with without burning through a full playthrough.
Frequently Asked Questions
How do I rotate the camera in Island Restoration?
Hold the right mouse button on keyboard and move the mouse, or push the right stick on a controller. Clicking the right stick snaps the camera back behind your character, which is the fastest way to recover from a weird angle. The arrow keys also rotate the camera if you are using a trackpad or a one-handed setup.
Can I save the game at any moment in Island Restoration?
Yes. The Island Restoration save anytime feature is listed on the official Steam page and works from the pause menu on every device. Map transitions and contract completions also write automatic checkpoints, so a hard crash only costs you a few minutes of cleanup. Steam Cloud syncs those saves across desktop, Steam Deck, and other PCs on the same account.
How do I use the clue button in Island Restoration?
Tap Q on keyboard or Y / Triangle on a controller to bring up the clue overlay. The system shows colored pulses for every piece of dirt, vine, mud, oil, and distressed animal still on the map, and the color tells you which of the six cleaning tools to reach for. Holding the button while you rotate the camera is the fastest way to spot the last few black-pulse oil clusters.
Does the clue system work on every biome?
Yes. The four launch biomes across 12 maps all use the same overlay, and the faint gray side-contract markers behave identically on the Tropical Isles, the second biome, and the late-game areas. The camera also supports the same zoom range on every map, so the workflow above works unchanged from the first tutorial island to the final biome. If a marker seems to vanish, rotate the camera or change zoom level and it will reappear.