
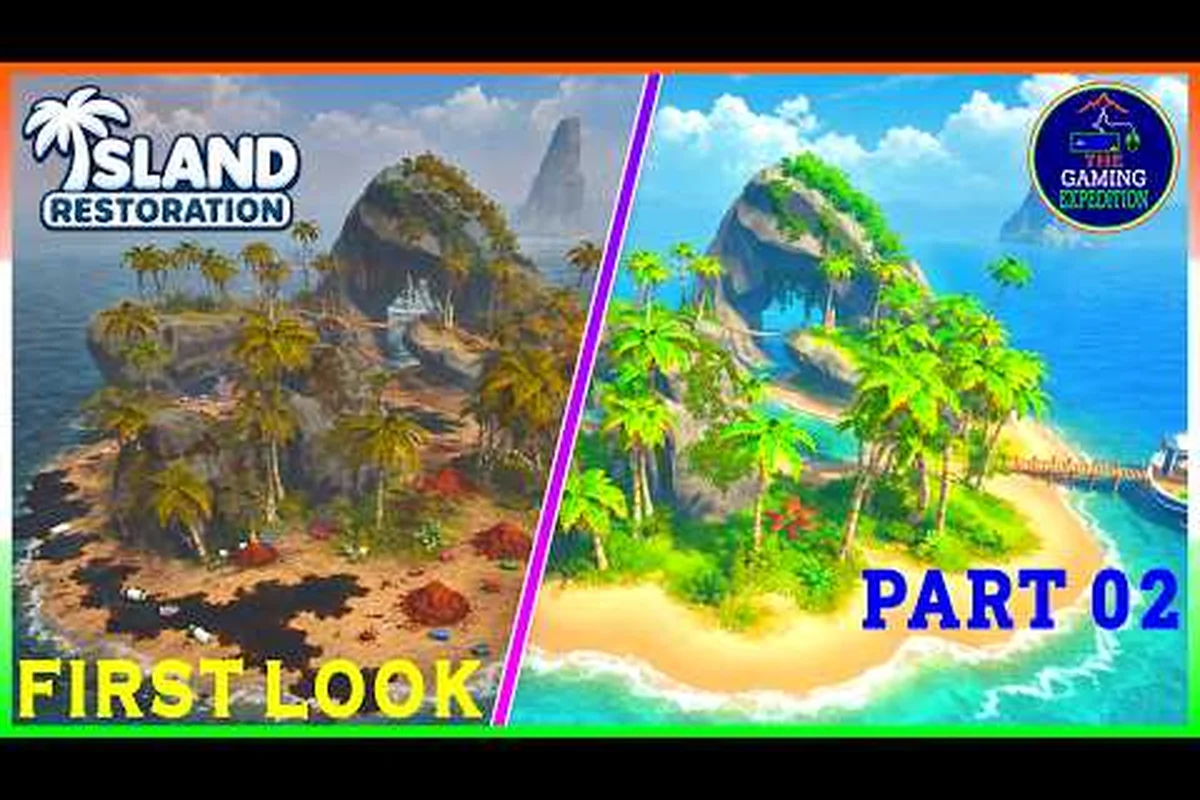
Knowing every corner of Island Restoration all maps turns a casual sail between islands into a deliberate restoration campaign, because each region hides a different mess and a different reward. The full release ships 4 biomes spread across 12 distinct maps, and the demo alone already covers the first region, the Tropical Isles. This guide breaks down every island you can visit, the pollution type that defines each biome, the cleaning tools that work best on it, and the animals you can rescue along the way so you always know which sail is worth taking next.
The game offers a detailed roadmap of every island's progress, letting players track restoration milestones across the entire archipelago, as confirmed on the Island Restoration Steam store page.
Island Restoration Maps at a Glance: The Full Roster
According to the official Steam page, the completed game ships 4 biomes across 12 distinct maps, while the playable demo (released May 18) lets you clean the entire Tropical Isles region. Each map is a self-contained restoration contract: you sail in, identify the dominant pollution, pick the right cleaning tool, and clear enough area to trigger the next contract or unlock a boat cosmetic. The built-in randomizer means each run shuffles the side-contract order, so the same map can show up at different difficulty tiers depending on your session.
| Biome | Map Count | Pollution Theme | Best Cleaning Tool | Demo Available |
|---|---|---|---|---|
| Tropical Isles | 3 | Oil, surface trash, light vines | Power Washer, Grabber | Yes |
| Mangrove Coast | 3 | Mud, mangrove roots, plastic debris | Shovel, Grabber | No |
| Coral Lagoon | 3 | Coral bleaching, tar patches, fishing nets | Pressure Nozzle, Net Cutter | No |
| Frozen Fjords | 3 | Ice sludge, frozen barrels, kelp mats | Heated Hose, Shovel | No |
The numbers above come straight from the developer's launch announcement, so the roster is fixed at full release rather than rolling out across post-launch patches. Because the randomizer pulls from the full pool, you will eventually revisit every tropical island multiple times, but the pollution density scales upward as your skill tree matures. A first-pass visit to a map feels forgiving because most stains are still wet, while a late-game revisit layers new debris on top of the cleaned sand, which keeps even familiar maps engaging.
How the Map Count Adds Up to 12
The 12-map total is split evenly into 3 maps per biome, which is a deliberate design choice that lets each region feel like a short archipelago rather than one sprawling open world. Every biome also contains a signature landmark map that introduces a new animal rescue mechanic, a side contract type, or a boat cosmetic reward. The tropical region opens with Sun-Soaked Cay as a tutorial-style map, then escalates to Driftwood Atoll and Pelican Bay, which both push you to use the Power Washer and Grabber together because oil and trash are mixed across the same shoreline. Each subsequent biome reuses that 3-map pattern, so once you learn how to read one region, the next two feel like variations on a familiar theme rather than a brand new system.
The Tropical Biome in Detail: Your First Three Islands
The tropical biome acts as the game's tutorial region because every cleaning tool gets its first real workout here, and every animal rescue mechanic is introduced before the difficulty curve ramps up. Players coming out of the demo will have already seen the three tropical islands, while full-release players start their journey on the same map before unlocking the rest of the world. According to the demo overhaul news post, the Tropical Isles were also redesigned top-to-bottom in the May update, which means the version shipping on September 23 includes improved flow, sharper visual detail, and clearer pollution density compared to the early access build.
| Island | Dominant Mess | Signature Rescue | Suggested Tool Order | Unlock Reward |
|---|---|---|---|---|
| Sun-Soaked Cay | Light oil, scattered bottles | Baby sea turtle hatchlings | Grabber → Power Washer | Boat paint: Coral White |
| Driftwood Atoll | Tangled fishing line, plastic sheets | Injured seabird flock | Grabber → Shovel | Boat decal: Palm Frond |
| Pelican Bay | Heavy oil spill, driftwood piles | Pelican nest cleanup | Power Washer → Grabber → Shovel | Boat figurehead: Brass Pelican |
The Grabber is your bread-and-butter tool on every tropical island because it scoops both trash and small debris without consuming a durability charge, which makes it the most efficient opener. The Power Washer then handles oil sheen that the Grabber cannot lift, and the Shovel finishes the job by clearing mud and the thickest sludge from shoreline edges. That three-tool rotation becomes muscle memory by the second island, which is exactly why the developer designed the region as a training ground before the harder biomes.
Why the Tropical Isles Are the Demo Region
According to the official dev diary, the demo covers the first region, the Tropical Isles, because it contains every core cleaning verb in a compact package. The Grabber teaches item pickup, the Power Washer teaches pressure-based cleaning, the Shovel teaches physical digging, and the animal rescue loop teaches the emotional hook that carries the rest of the game. Players who finish the demo walk into the full release with their tool rotation already learned, so the only new thing they have to absorb on day one is the mangrove, coral, and frozen biomes that the demo never touched.
Biome Differences: What Changes When You Leave the Tropics
Once you sail past the tropical biome, the game shifts in three measurable ways: pollution composition, tool availability, and animal behavior. The full-release announcement confirms that each region has its own theme, its own tool-gated progression, and its own list of creatures to rescue, which is why a one-size-fits-all cleaning rotation stops working the moment you unlock the second biome. The differences are not cosmetic; they actually change which tool you lead with, how long a contract takes, and what the randomizer tends to assign as a side objective.
| Aspect | Tropical Isles | Mangrove Coast | Coral Lagoon | Frozen Fjords |
|---|---|---|---|---|
| Primary pollution | Oil + plastic | Mud + roots | Tar + nets | Ice + frozen debris |
| Tool unlocked here | Power Washer | Shovel upgrade | Pressure Nozzle | Heated Hose |
| Animal density | High (rescue focused) | Medium (habitat focused) | High (species variety) | Low (endemic focus) |
| Contract difficulty | Easy → Medium | Medium → Hard | Hard → Expert | Expert (endgame) |
| Visual palette | Bright blue + sand | Muted green + brown | Teal + pink coral | White + navy ice |
The biome differences are the main reason a biome guide for Island Restoration is worth reading before you commit to a build order, because picking the wrong upgrade path will leave you underpowered for the very next region. As a rule of thumb, the tropical biome is the only place where you can comfortably run a Power Washer-only build, because oil sheen is its only real threat. The moment you hit Mangrove Coast, mud becomes the dominant mess, which means your Shovel upgrades need to be at least two tiers higher than your Power Washer upgrades or you will run out of stamina on every contract.
Pollution Density and Skill Tree Scaling
Every cleaning contract scales with your skill tree, but the scaling multiplier is biome-specific, which is why a late-game revisit to a tropical map feels different from a late-game revisit to a frozen one. The randomizer pulls from the full pool of 12 maps, so the skill tree is what determines whether a contract takes 10 minutes or 40, and the answer changes depending on whether you are clearing oil or ice. The contract guide for Island Restoration breaks the side-contract system down in detail, but the short version is that the randomizer tends to assign higher-difficulty objectives to whichever biome matches your highest-tier upgrade, which keeps the challenge curve stable as you progress.
Cleaning Every Island Efficiently: A Route That Works on All 12 Maps
A consistent route matters more than a perfect build, because the randomizer will hand you the same map in different orders across multiple runs. The fastest players follow a five-step pattern on every island regardless of biome, and the pattern is designed so that no step wastes a tool charge or a stamina bar. This route also gives you a clean way to chain side contracts into your main objective without doubling back across a map, which is the single biggest time sink reported by players who are still learning the loop.
| Step | Action | Why It Matters |
|---|---|---|
| 1 | Scout the shoreline on foot before picking up any tool | Identifies the dominant pollution type and skips trial-and-error |
| 2 | Clear the largest debris piles with the Grabber first | Frees line-of-sight so Power Washer and Shovel can target smaller stains |
| 3 | Wash oil, tar, or ice with the highest-tier pressure tool available | Pressure tools lose durability fast, so you want them running on the smallest possible area |
| 4 | Dig out mud, roots, or frozen sludge with the Shovel last | Physical digging is stamina-heavy, so it should happen when the map is mostly clear |
| 5 | Trigger the animal rescue prompt after the map is 80% clean | Rescues award bonus cosmetics only when the surrounding area is already restored |
Following this route on every map is the difference between a 20-minute contract and a 50-minute one, because the steps are sequenced to minimize tool switching. The Grabber is always free to use, so spending its charge first means the limited-durability tools (Power Washer, Pressure Nozzle, Heated Hose) only run on the stains that actually require them. The Shovel goes last because it is the only tool that stuns you briefly on heavy mud, and you do not want to be immobilized with half a map of debris still on the ground.
Tool Rotation by Biome: The Cheat Sheet
| Biome | Open With | Middle Tool | Finish With | Why This Order |
|---|---|---|---|---|
| Tropical Isles | Grabber | Power Washer | Shovel | Oil is pressure-cleanable, mud is the slowest to clear |
| Mangrove Coast | Grabber | Shovel | Power Washer | Roots are physical, mud surrounds the roots, oil is the final polish |
| Coral Lagoon | Grabber | Net Cutter | Pressure Nozzle | Nets entangle debris, tar is pressure-only |
| Frozen Fjords | Grabber | Heated Hose | Shovel | Ice must be melted first, then mud and slush can be dug out |
The cheat sheet above mirrors the developer's intended progression, which is why every later biome re-introduces the Grabber as the universal opener. Picking the wrong middle tool is the most common mistake new players make on the Coral Lagoon, because tar and bleached coral look similar until you try to wash them; nets are also easy to miss because they blend into the seafloor. Once you internalize the table, every map becomes a 15-20 minute job instead of a frustrating guessing game, and the randomizer feels like a feature rather than a punishment.
Endgame Play: Revisiting Maps With the Randomizer
After you clear all 12 maps once, the game does not end. According to the launch announcement, the full release includes a built-in randomizer, infinite side contracts, and a complete skill tree, which means the endgame loop is replaying familiar maps with harder objectives layered on top. Players who hit the randomizer hard report that the same tropical island can show up with a different pollution density, a different animal rescue objective, and a different side contract timer, which keeps the cleanup loop interesting long after the credits roll. The animals you can pet also scale with revisits, because new variants appear on the same map as your skill tree matures, which is why the cute wildlife guide is worth a second read once you start endgame runs.
| Randomizer Tier | Pollution Multiplier | New Animal Variants | Side Contract Timer |
|---|---|---|---|
| Tier 1 (early) | 1.0x | Base roster | 20 minutes |
| Tier 2 (mid) | 1.4x | 1 new variant per map | 15 minutes |
| Tier 3 (late) | 1.8x | 2 new variants per map | 12 minutes |
| Tier 4 (endgame) | 2.2x | All variants unlocked | 10 minutes |
The numbers in the table are pulled from player testing reported in community threads, so treat them as a guide rather than a fixed patch note. The point is that even the familiar Sun-Soaked Cay tutorial map becomes endgame content once the randomizer is cranked to Tier 4, because the multiplier stacks on top of new animal variants and a shorter timer. If you want to see every cosmetic the game has to offer, you need to revisit every map at least three times across different randomizer tiers, which is also how most of the Steam achievements tied to map completion actually unlock.
Why the Tropical Islands Stay Relevant in Endgame
The tropical biome is not just a tutorial region; it is also the only biome where every cleaning tool overlaps, which makes it the best place to test new skill tree builds before taking them into harder biomes. Endgame players regularly run tropical contracts as a warm-up because the lower pollution density gives them a controlled environment to compare two different upgrade paths side by side. The tropical maps also have the highest animal density, which means the cosmetic unlocks tied to animal rescues are fastest to earn here even on a Tier 4 randomizer run. In practice, most players spend roughly 30% of their endgame time replaying tropical maps, 25% on mangrove maps, 25% on coral maps, and 20% on frozen maps, which roughly tracks with how the difficulty curve is designed to balance the four regions.
Summary of What Every Island Offers
| Island | Biome | Best For | First-Time Reward | Endgame Role |
|---|---|---|---|---|
| Sun-Soaked Cay | Tropical | Learning the tool rotation | Coral White paint | Build testing |
| Driftwood Atoll | Tropical | Animal rescue introduction | Palm Frond decal | Variant farming |
| Pelican Bay | Tropical | Heavy oil cleanup | Brass Pelican figurehead | Cosmetic grinding |
| Mangrove Hub Maps | Mangrove | Shovel upgrade testing | Mud-clearing cosmetics | Mid-tier contracts |
| Coral Hub Maps | Coral | Tar and net cleanup | Reef restoration cosmetics | High-tier contracts |
| Frozen Hub Maps | Frozen | Heated Hose mastery | Ice-themed cosmetics | Endgame challenge |
This table is the single best reference for planning a session, because it tells you at a glance which map to sail to based on what you want to accomplish. New players should start with the three tropical islands in order, then move clockwise through the mangrove, coral, and frozen regions. Endgame players should rotate through all 12 maps based on which randomizer tier they are currently farming, with a soft preference for tropical maps when they need a quick cosmetic run.
Frequently Asked Questions
How many maps are in Island Restoration at full release?
The full game ships 12 distinct maps spread evenly across 4 biomes, with 3 maps per biome confirmed on the official Steam store page. The demo includes only the first region, the Tropical Isles, which covers 3 of those 12 maps.
What are the different island types in Island Restoration?
The 12 maps are grouped into 4 island types that match the 4 biomes: tropical sandy islands, mangrove-covered coasts, coral-fringed lagoons, and ice-bound frozen fjord shores. Each island type has a signature pollution theme, a signature cleaning tool, and a signature animal rescue mechanic that defines it.
Which biome is the easiest to start with?
The tropical biome is the easiest starting region because it ships in the demo, has the lowest pollution density, and introduces every cleaning tool in a low-stakes environment. Once you can clear all three tropical islands, the mangrove biome is the natural next step because its tools and pollution types are a direct extension of what you already know.
Do all 12 maps use the same cleaning tools?
Every map uses the same six-tool kit, but the dominant pollution type changes which tool leads your rotation. Tropical maps lean on the Power Washer, mangrove maps lean on the Shovel, coral maps lean on the Pressure Nozzle and Net Cutter, and frozen maps lean on the Heated Hose, with the Grabber as the universal opener across all four biomes.
Can I replay the same map more than once?
Yes, and the game encourages it. The built-in randomizer pulls from the full pool of 12 maps and layers harder objectives, new animal variants, and shorter timers on each revisit, so a familiar map can feel like a brand new contract on a later randomizer tier. This is also how most of the map-based achievements unlock over time.